
Use sites when work takes place at several addresses for one client, such as a chain’s shops, offices, or production facilities. Create a site for each address and select it in jobs. This lets you view work for the whole client or for a particular site.
A site can exist without a client. Use this for your own warehouses, telecommunications facilities, or other internal locations.
Where to find sites
Open Addresses in the main menu and select Sites at the top of the page. The Clients list is next to it.
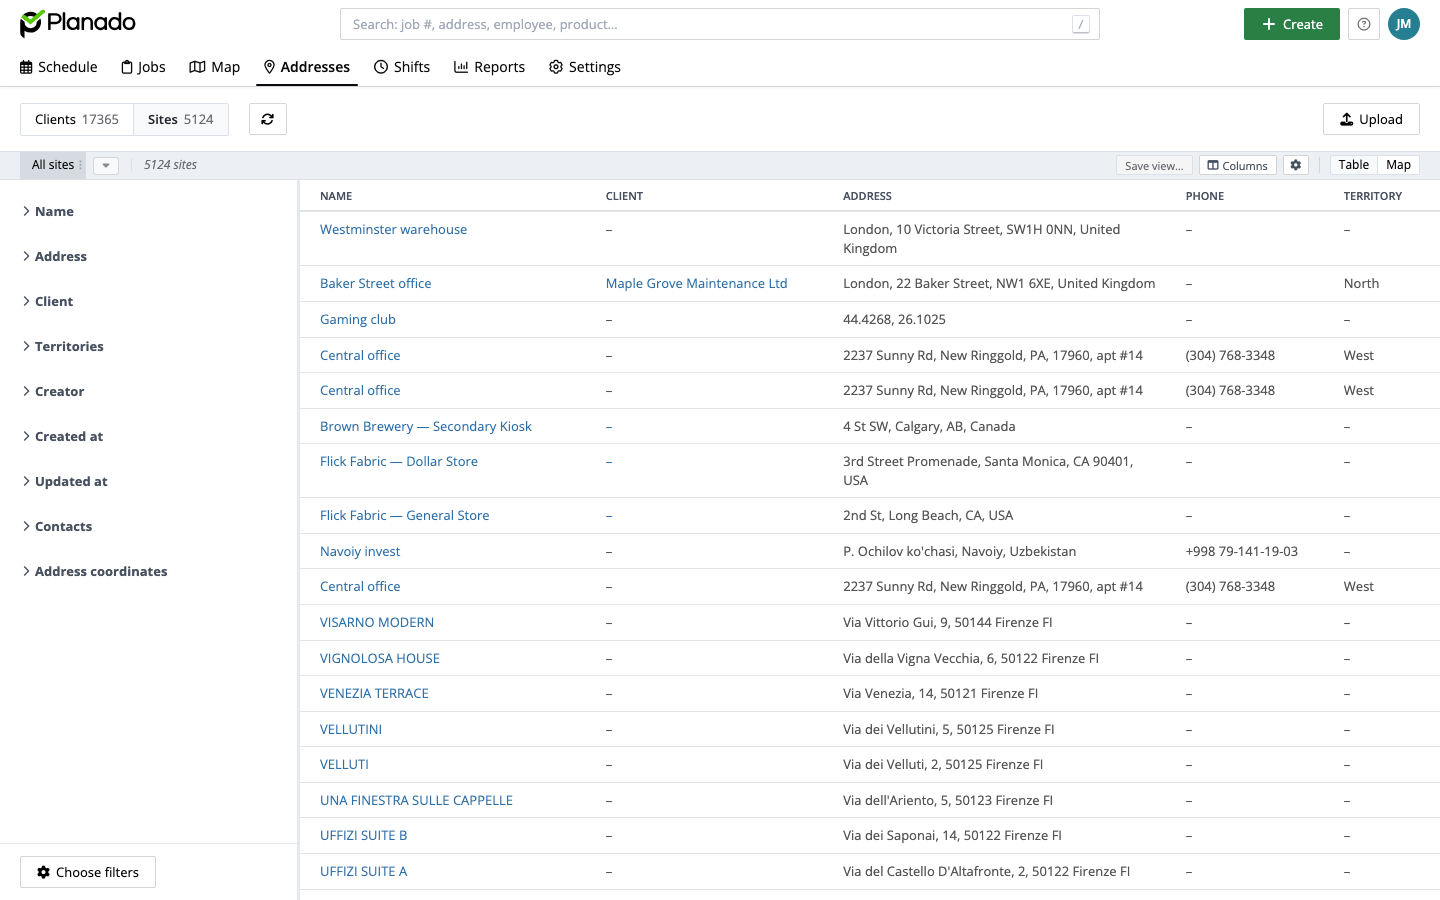
The filters on the left let you find sites by name, address, client, territory, and other details. For example, expand Name, enter part of a name in Contains…, and press Enter. You can also find a site using the global search at the top of the page.
Click Map to display sites on the map. Click Table to return to the list.
Columns and saved views
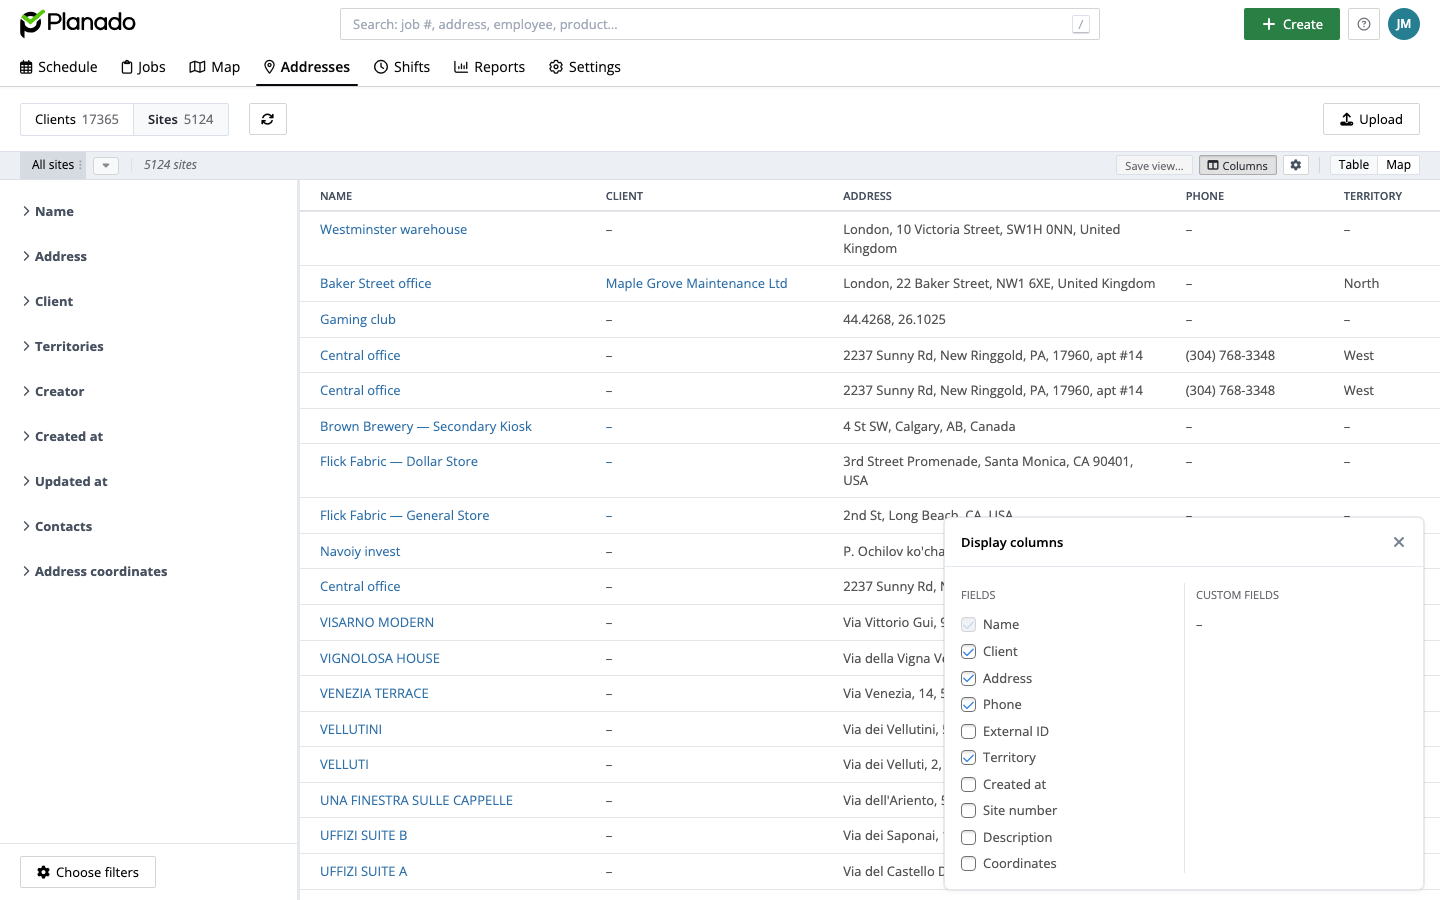
Use Columns to choose which details appear in the table. Drag column headers to reorder them, or drag the edge of a header to resize a column.
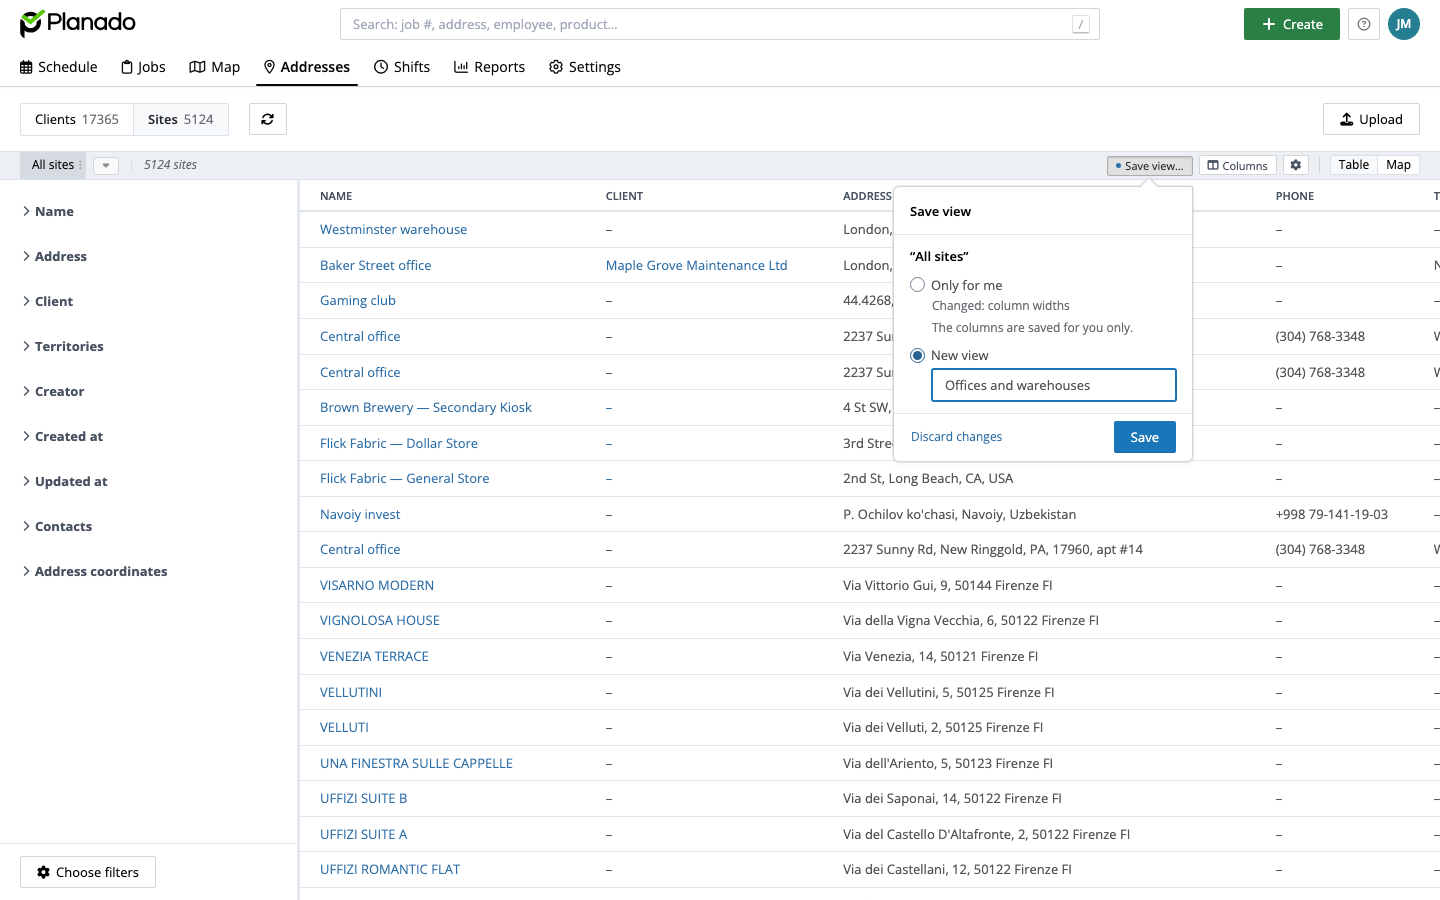
To reuse your settings, click Save view…, select New view, enter a name, and click Save. Views appear in the bar above the list.
The View settings gear opens view management. Depending on your access, you can rename or reorder views, hide them from the bar, or delete them.
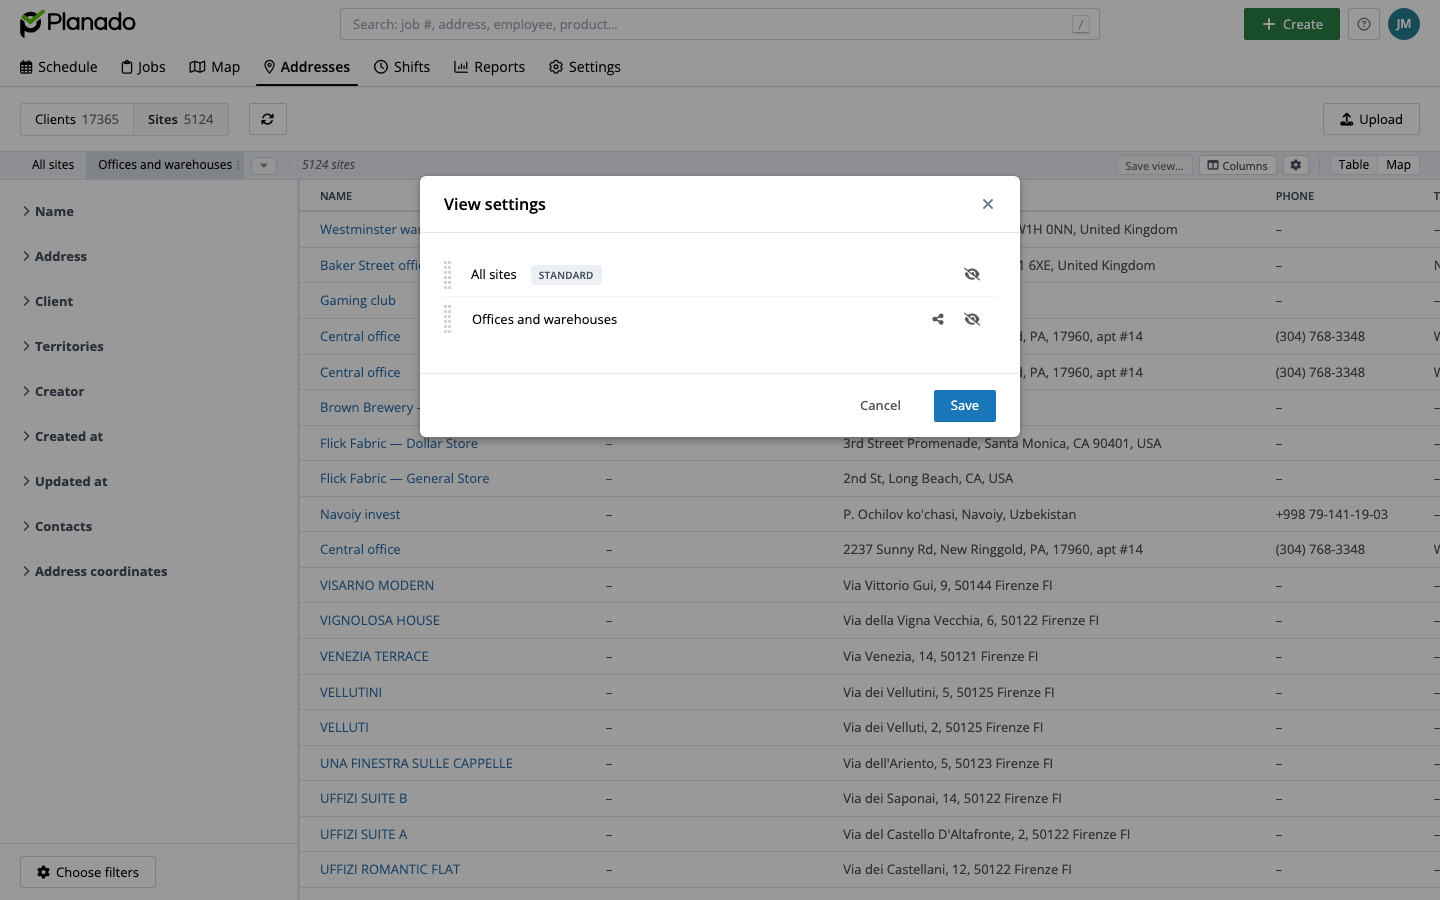
Use Share in a view’s row to choose its audience. A personal view is available only to you. Your permissions determine whether you can edit and share a view.
Creating sites and working with jobs
To add a site, choose Create → Site at the top of the app. Enter a name, address, and organization if needed. See Creating a site and linking it to an organization for detailed steps.
Open a site by clicking its name in the table or finding it through global search. Its dialog contains the site details and tabs for jobs and recurring jobs. Use Add job to create a job for the site.
If you need help, submit a ticket or email support@planado.app.