
If your client or site database is already in a spreadsheet, upload it to Planado from an XLSX or CSV file.
Where to find the upload action
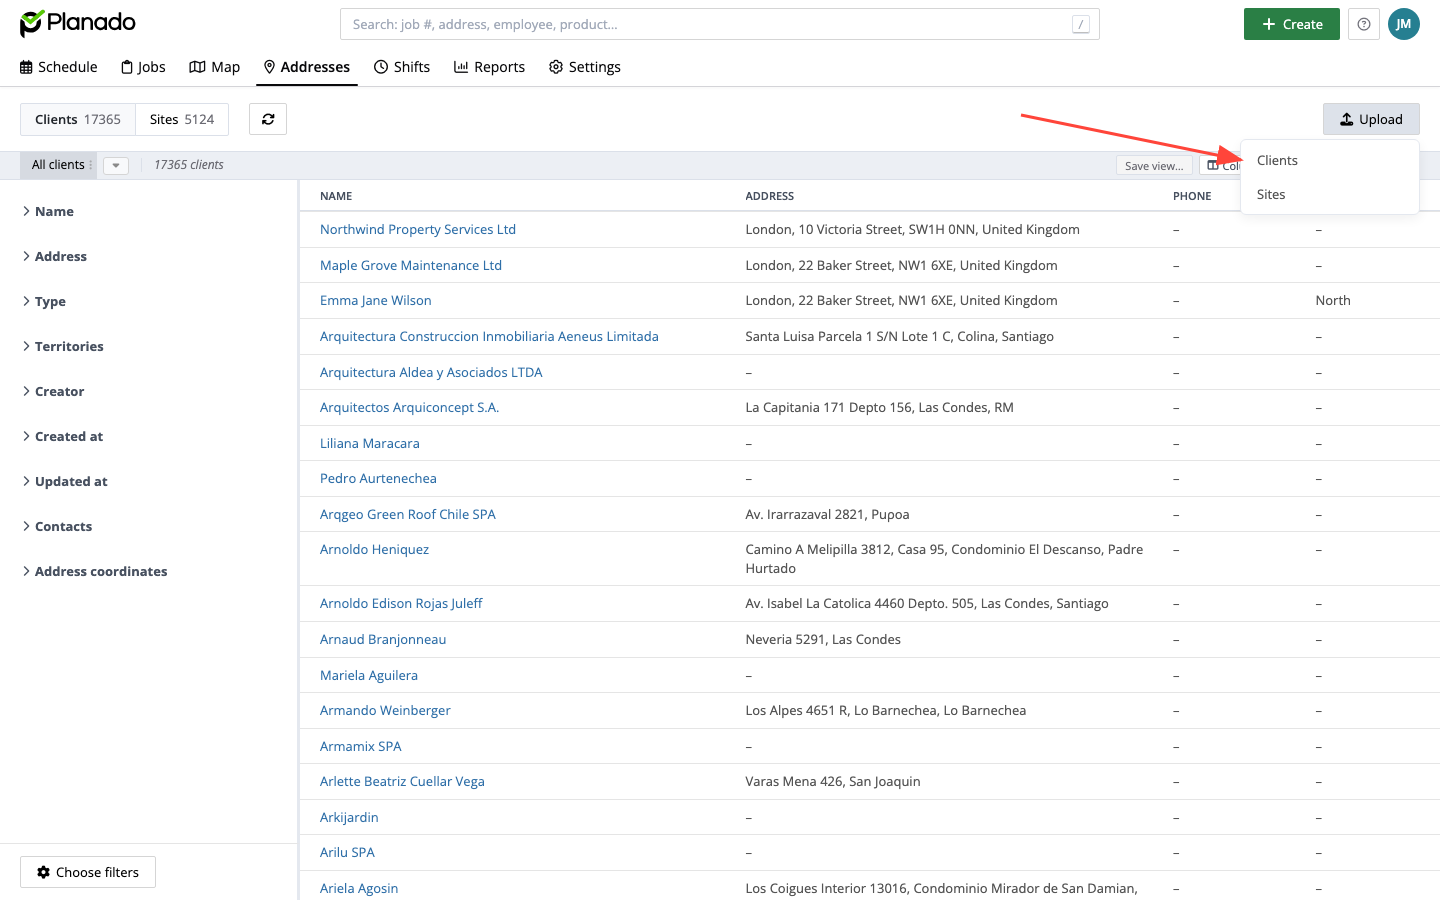
Open Addresses in the main menu. Click Upload at the top of the page and select Clients or Sites. Each type of record has its own upload dialog.
Preparing and checking the file
The initial dialog contains a CSV file example link. Download the example to prepare your spreadsheet. Include a permanent external ID if you plan to update records: without one, uploading again creates new records.
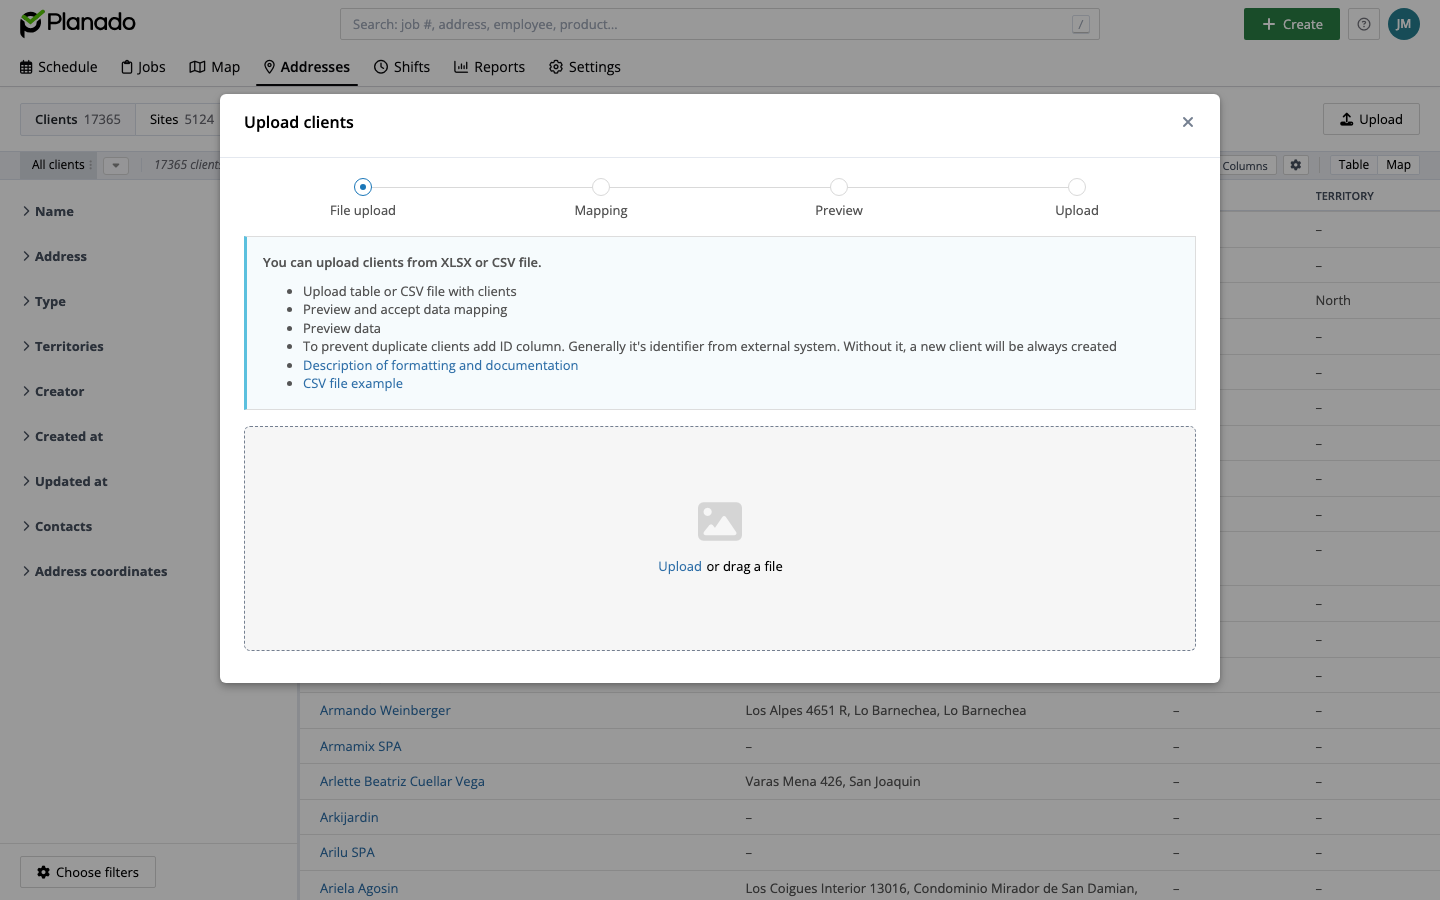
The upload has four steps:
- File upload — choose an XLSX/CSV file or drag it into the dialog.
- Mapping — check how the file’s columns match Planado fields.
- Preview — check rows and choose to create records, update them, or do both.
- Upload — wait for processing and check the created, updated, and unsuccessful records.
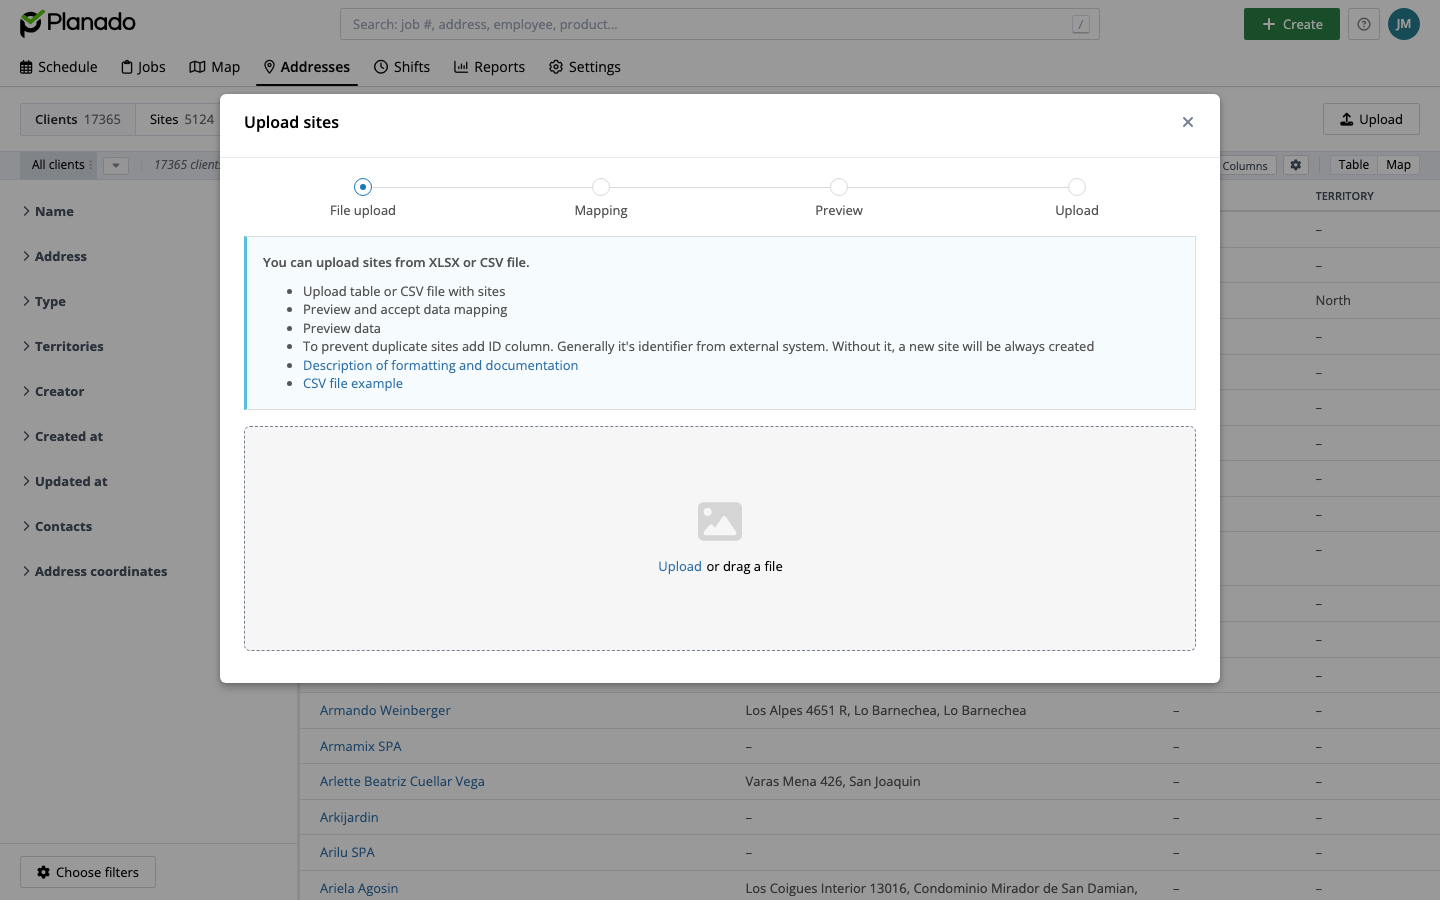
The process is the same for sites. To link a site to a client in the file, provide the client’s external ID.
See the separate instructions for detailed steps and field requirements:
If you need help, submit a ticket or email support@planado.app.