
Custom fields store details that do not fit the standard client or site dialog, such as an agreement, a note, or a date.
Available types
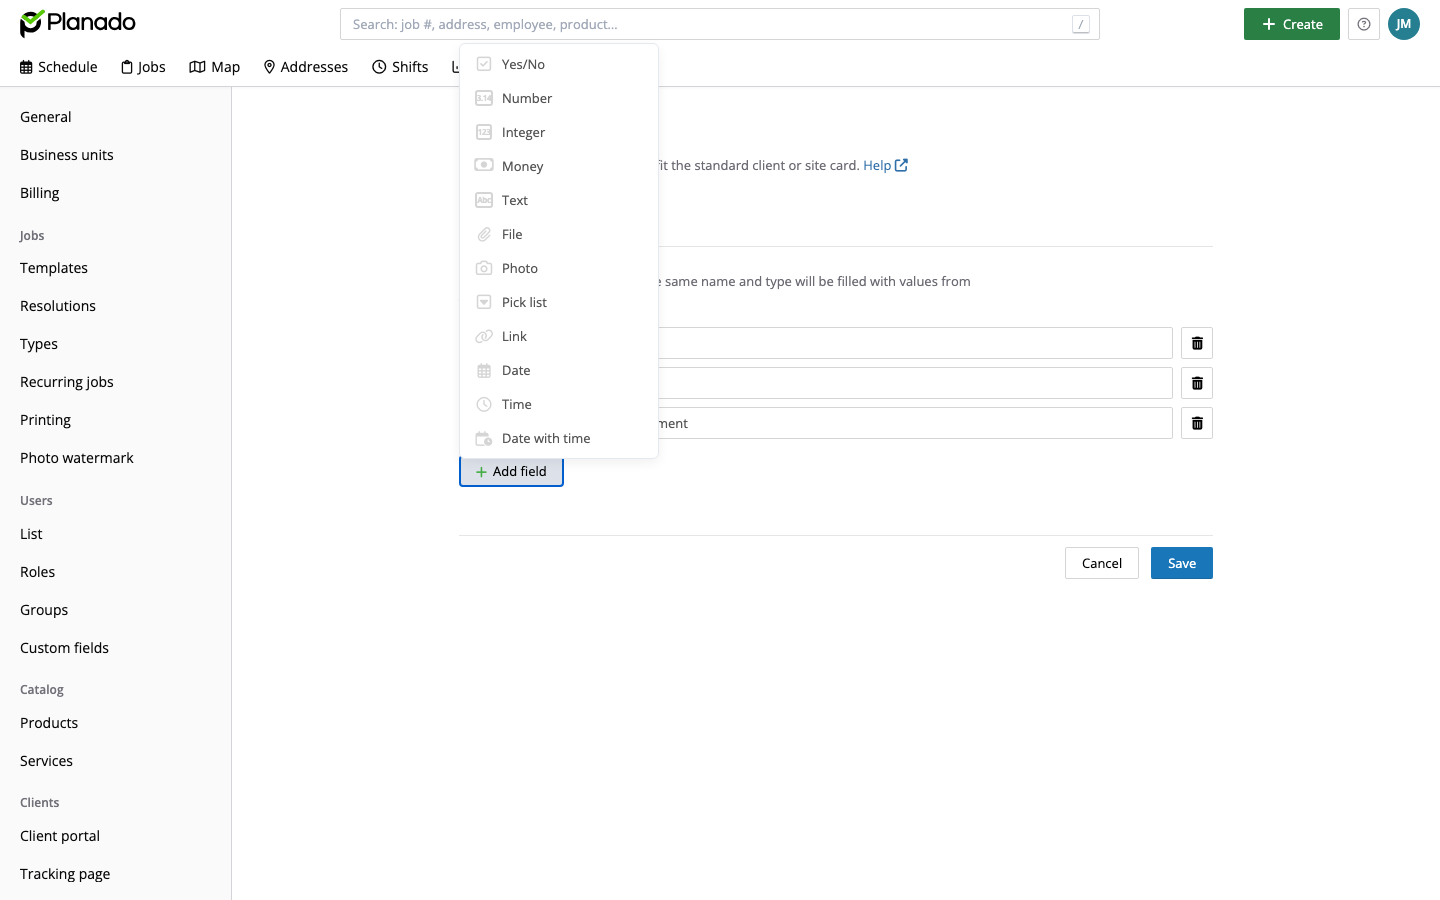
You can add Yes/No, Number, Integer, Money, Text, File, Photo, Pick list, Link, Date, Time, and Date with time fields.
Adding custom fields
Open Settings → Custom fields in the Clients section. Select Clients or Sites at the top of the page. Each list has its own field settings.
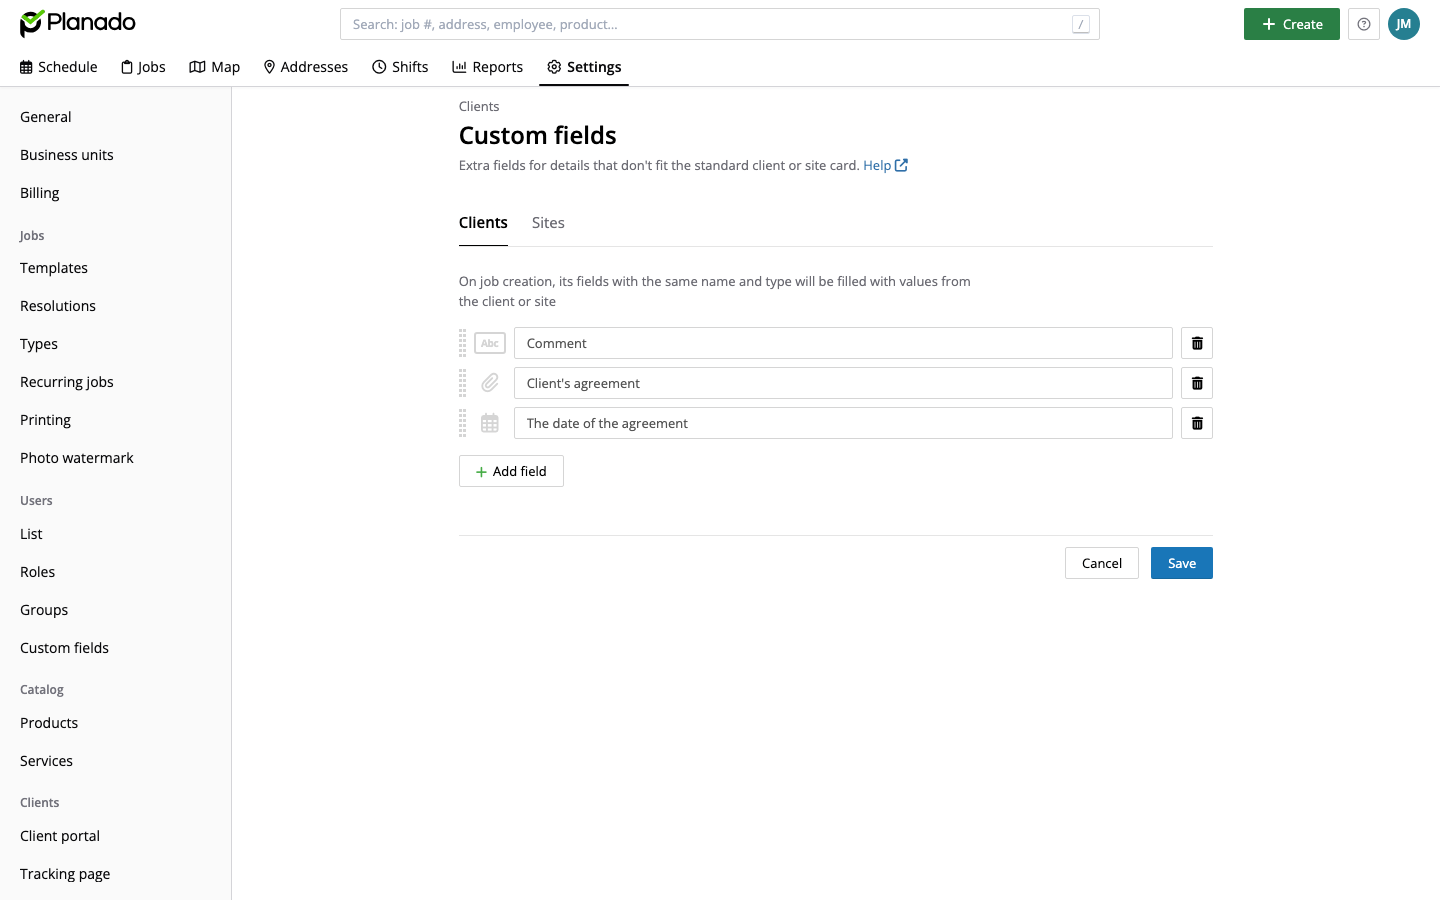
Click Add field and select its type.
Enter the Field’s name. For Pick list, also select the list of values. Add any other fields you need, then click Save at the bottom of the page.
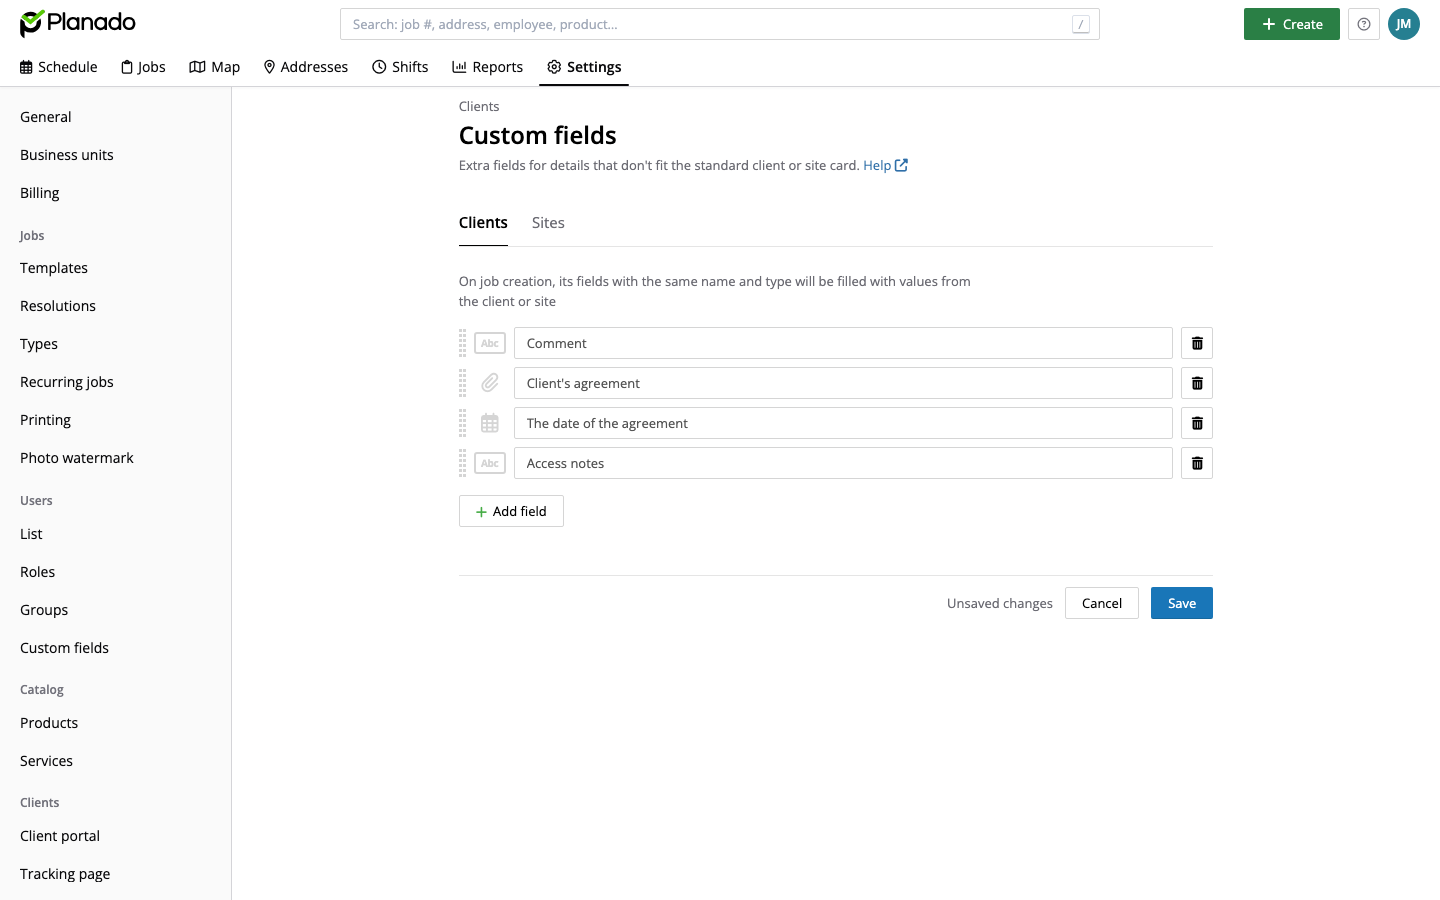
Drag the handle to the left of a field to change its position. Use the trash button to remove a field. Click Save to apply changes or Cancel to discard them.
Filling in a client or site
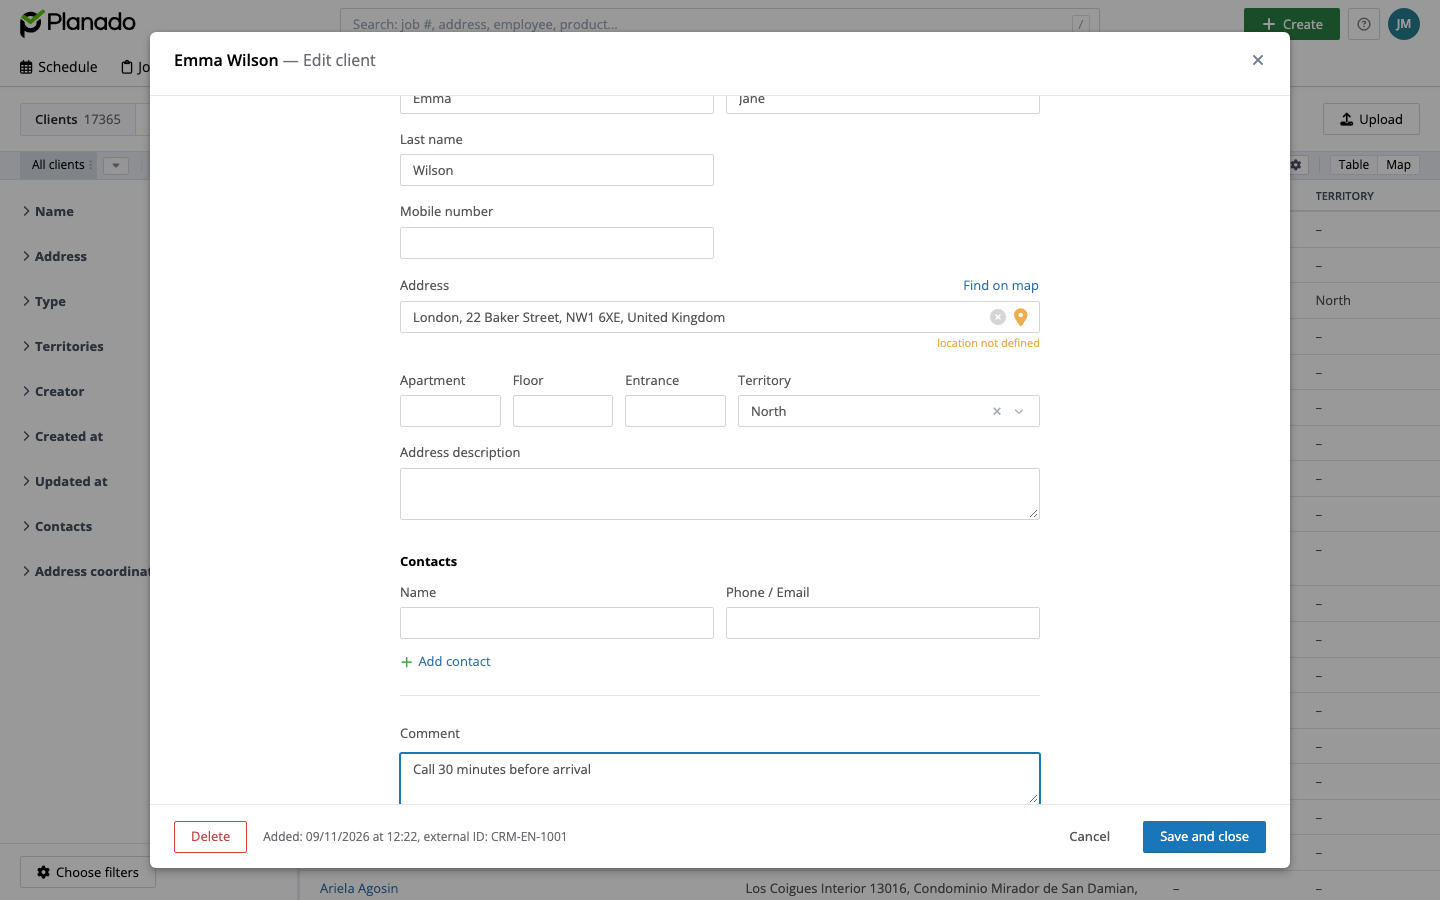
Open Addresses, select Clients or Sites, and open the record by name. You can also use global search at the top of the page. Custom fields appear after the standard details. Fill them in and click Save and close.
You can also upload values from a file by mapping its columns to the relevant custom fields.
Copying values to a job
If a client or site has a filled-in custom field and a job template has a field with the same name and type, its value is copied automatically when you create a job for that client or site. This transfers documents, dates, and text without entering them again.
If you have questions about client and site custom fields or other Planado features, email support@planado.app or contact us through the support portal.